We do Worldwide Shipping!

We get so many questions about some of the key basics of decoupage, we thought it would be the best to collate the most important steps and key ingredients that tend to be used in decoupage. We will discuss the basic ingredients and tools in the order of the most basic technique, so it is clear what is used for what. We will also include any tips and hints that can make our work so much easier and more enjoyable. So let’s get to work!
Step 1) Priming
PRIMER: is a base paint, most often light coloured: white, or off white, such as cream, or light beige. This is necessary mainly because the napkins that we will glue on tend to be very thin layers, even slightly see through, and so the designs are most visible, when our background colour is light colour.

ACRYLIC PAINT: is a water based paint. It is fairly quick-drying, and even though the paint itself is water-soluble whilst still in liquid form, it becomes water-resistant once it is dry. This is the most widely used base paint, as it is very easy to work with.
Certain materials will require using a primer more than others. It depends on what material the base project is. Glass, metal, plastic, tiles, or varnished surfaces will all benefit from using primer first. Otherwise using acrylic paint first directly, the paint will likely just slide on the surface, but not cover it evenly, and it may need 2-3 layers of acrylic paint for a full coverage. Primer in these cases are highly recommended first, so we can start with a nice and even coverage, then if the background colour needs to be different acrylic paint can follow.
Step 2) Paper types
NAPKIN PAPERS: Usually 3 layers of very very thin, almost translucent papers, the same as we normally use for eating, but in decoupage we use all sorts of funky design ones. Only the top layer is to be used in decoupage. Very delicate to be working with, it may tear easily. It may come in different sizes. Adapts well to different surfaces.
RICE PAPERS: Not made of rice, but made of plant based starch and fibres, i.e. tree bark. Comes in different sizes and thickness. Easy to be working with, sticks well to any surface, flat, or textured. Thicker than napkin papers, but thinner than decoupage papers. Strong, durable and resistant, despite the fact it can be quite thin.
DECOUPAGE PAPERS: Very easy to work with, it won’t crinkle or crease easily. Probably the thickest of all three, although it does come in different sizes and thickness too. Durable, yet very flexible to we working with, can be applied on any surface.

Step 3) Applying the design on
This is the fun bit! The design can now be applied on top of the base layer. Our napkins tend to be 3 layered, that will need to be separated. Sometimes it can be a bit challenging because they are so thin, but with patience they will separate nicely.
Once we have the single layer with the design on, the specific part of the design will need to be cut out from the whole napkin. There are two techniques for this:
- we may use scissors, this will leave a sharp edge around the design, but can work quite precisely
- we may tear it by hand. The edges will look a lot more natural, and it will be easier to work it onto the craft project without visible edges, but we may risk tearing into the picture if not careful enough

Step 4) Applying the glue
DECOUPAGE GLUE: Always use special decoupage glue, not just any glue. The ones we recommend are two-in-one: glue and varnish. This can be applied under the napkin to act as glue, as well as on top of the design to act as a varnish. These tend to be matte.
The glue can be applied on the project by using either a brush or a sponge.
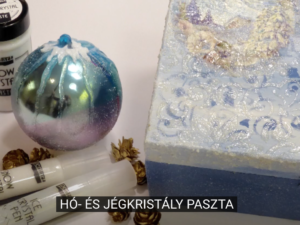
If it is a relatively small surface, or round (e.g. a Christmas bauble, or an easter egg), then just apply the glue fresh, stick the design on, and apply another layer of this glue-and-varnish on top of the design to finish it off nicely.

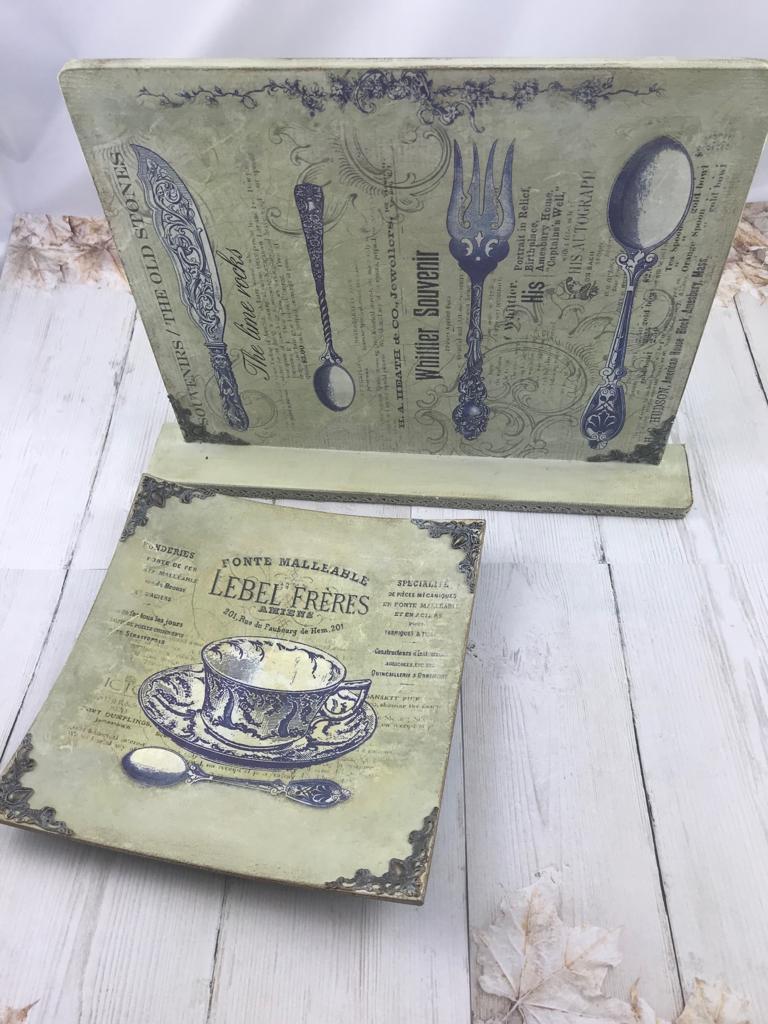
If it is a larger flat surface, the thin napkin layer might tear easily or crease whilst placing it into the fresh glue. The best way to avoid this problem, is to apply the glue as normal, but this time let it dry first. Once dried, place the design on the dried glue, then put another layer of baking paper on top of the design, then using a low heat iron, we can literally iron the design onto the glue. The low heat of the iron will melt the glue slightly, just enough to catch on the napkin. The edges, and any creases can be smoothed out nicely. Make sure the iron doesn’t get too hot, as it may discolour the project brown, or even burn it.
Please note, the glue becomes water resistant once it is dry.
Step 5) Applying the finish
VARNISH: This is the final layer that will protect the surface of our craft project. This needs to be a good quality varnish so it lasts long term. The glue can often be used as the outer layer, but depending on what the item is, and how much wear and tear it may need to endure, sometimes it is recommended to use an actual finishing varnish instead of just the glue itself. The glue may leave a slightly stickier surface, difficult to clean.
In terms of the final look, there are matte, glossy, & satin effect varnishes available. The finishing varnish can also be water based, or solvent based. The solvent based version will of course have a stronger smell to it, so it is advised to work with the windows open, otherwise the smell will linger around for a long time, until it completely dries.

Most of these paints & glues become water resistant once dried, it is therefore highly recommended to always take care of our tools, and wash every brush & sponge out thoroughly as soon as we have finished working with them. It is great to be able to use the brushes & sponges again and again, not having to buy new tools for every project.
Here are few useful videos to demonstrate the basics of decoupage: